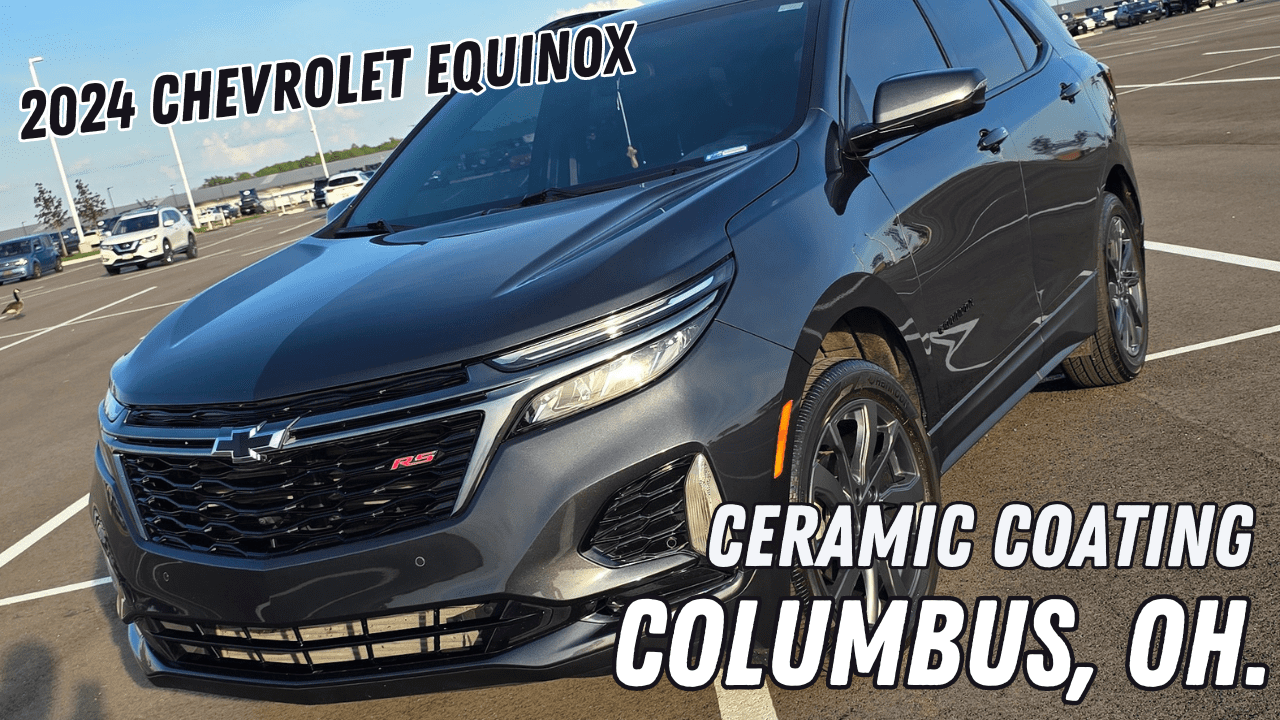
You just pulled your car into the sun after a wash, and there it is, a web of fine scratches dancing across the hood. The paint still looks clean from a few feet away, but up close the finish has lost that crisp, glossy reflection that made the car look new. That's the moment most owners realize car paint swirls aren't a minor annoyance, they're a clear sign the finish has been abraded.
The good news is that swirls are usually fixable, and the better news is that the right diagnosis changes everything. If the marks are light, a careful DIY polish may be enough. If they're deeper or spread across the whole car, professional paint correction and protection become the smarter long-term move.
Table of Contents
- What Exactly Are Car Paint Swirls and Why They Matter
- How Swirl Marks Form From Your Weekly Car Wash
- Inspecting Your Paint How to Judge Swirl Severity at Home
- Fixing Swirls DIY Polishing vs Professional Paint Correction
- The Best Ways to Prevent Car Paint Swirls for Good
- Get a Flawless Finish with Professional Detailing in Hilliard
What Exactly Are Car Paint Swirls and Why They Matter
What you're actually seeing on the panel
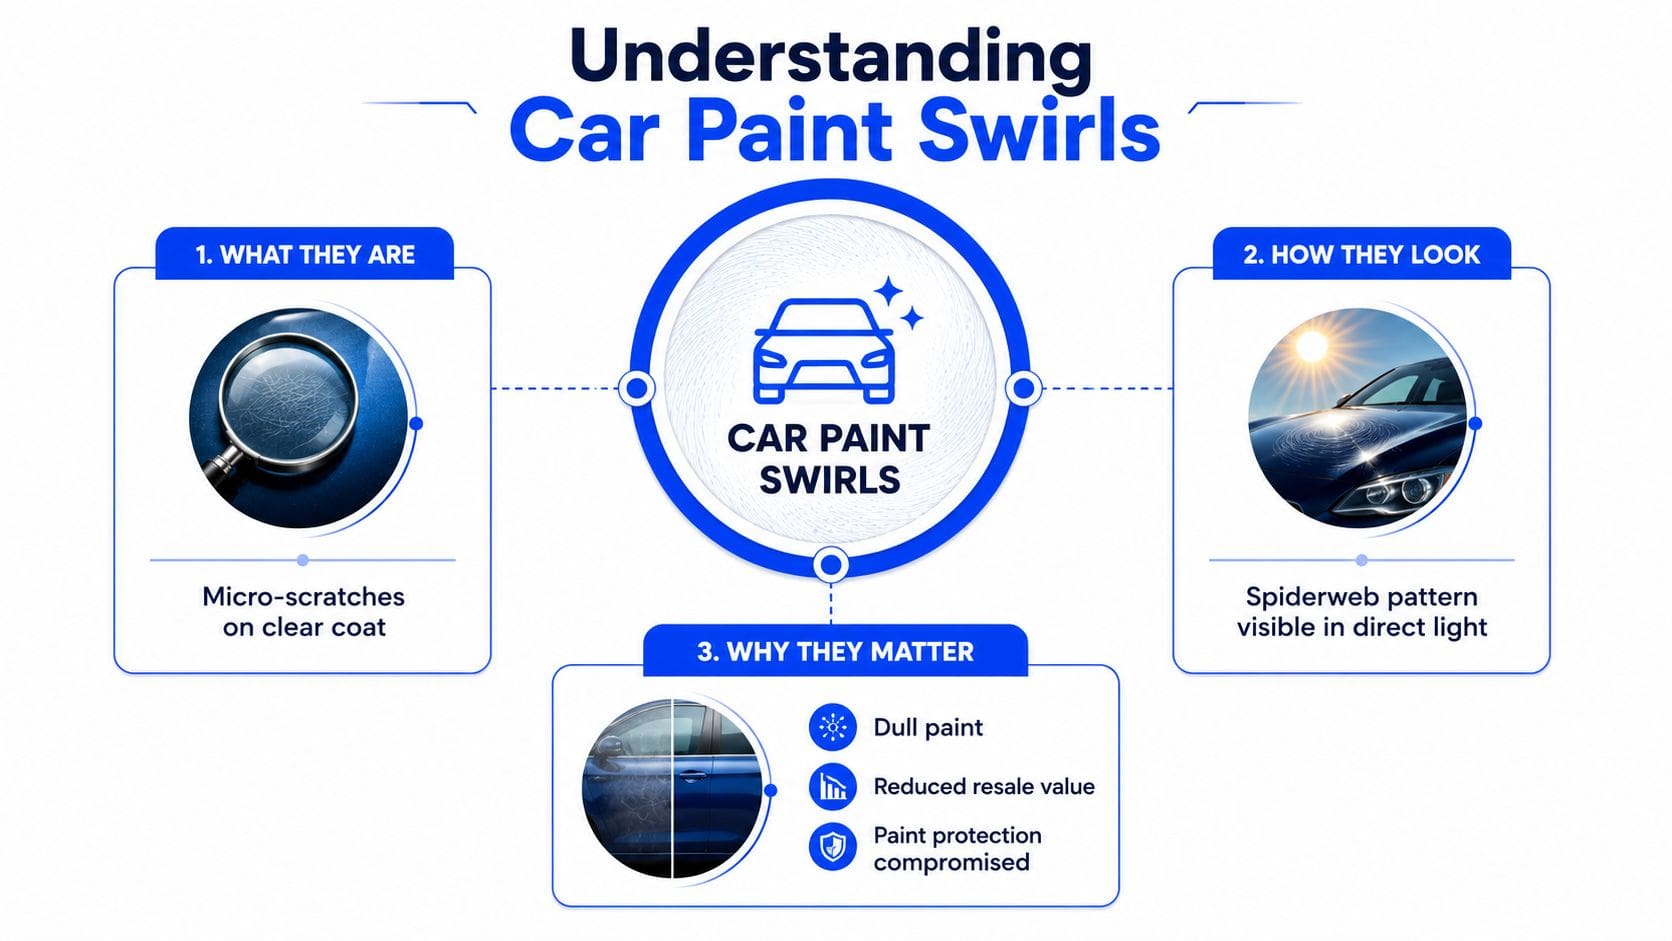
Car paint swirls are not a defect in the color itself. They're fine scratches in the clear coat, the transparent top layer that sits above the base color, and that's why they show up so sharply when the light hits the paint at an angle. Diamond State Detailers explains that the damage sits in that top layer, not the color coat underneath, so the surface can look cloudy or webbed even when the underlying paint is still intact.
A simple way to think about it is like a scratched CD or DVD. The disc still has the same data, but the scratches scatter light and make the surface look dull. Swirl marks do something similar to automotive clear coat, they distort reflection instead of changing the color.
That matters because the clear coat is only a small part of the paint stack. Once repeated wash abrasion mars that layer, the gloss drops and the finish stops looking deep and sharp. This is why swirl removal is so central to Hilliard auto detailing, Columbus ceramic coating, and other correction work, because the defect is tied directly to how the surface reflects light.
Why they're more visible on modern cars
Swirls became more obvious as glossy clear-coated finishes became standard on modern vehicles. Older single-stage paints hid this kind of micro-marring better, but today's finishes reflect everything, including the tiniest wash marks. That's why a black sedan, a dark truck, or even a fresh lease can look tired under bright sun after only routine care.
Practical rule: If you only notice the marks in direct sunlight or under a bright inspection light, you're usually looking at clear-coat marring, not a major repaint issue.
The key takeaway is simple. Swirls are common, they're visible because modern finishes are glossy, and they matter because they reduce clarity, gloss, and the overall look of the vehicle. If the goal is a clean, sharp finish, the clear coat has to be corrected, then protected.
How Swirl Marks Form From Your Weekly Car Wash
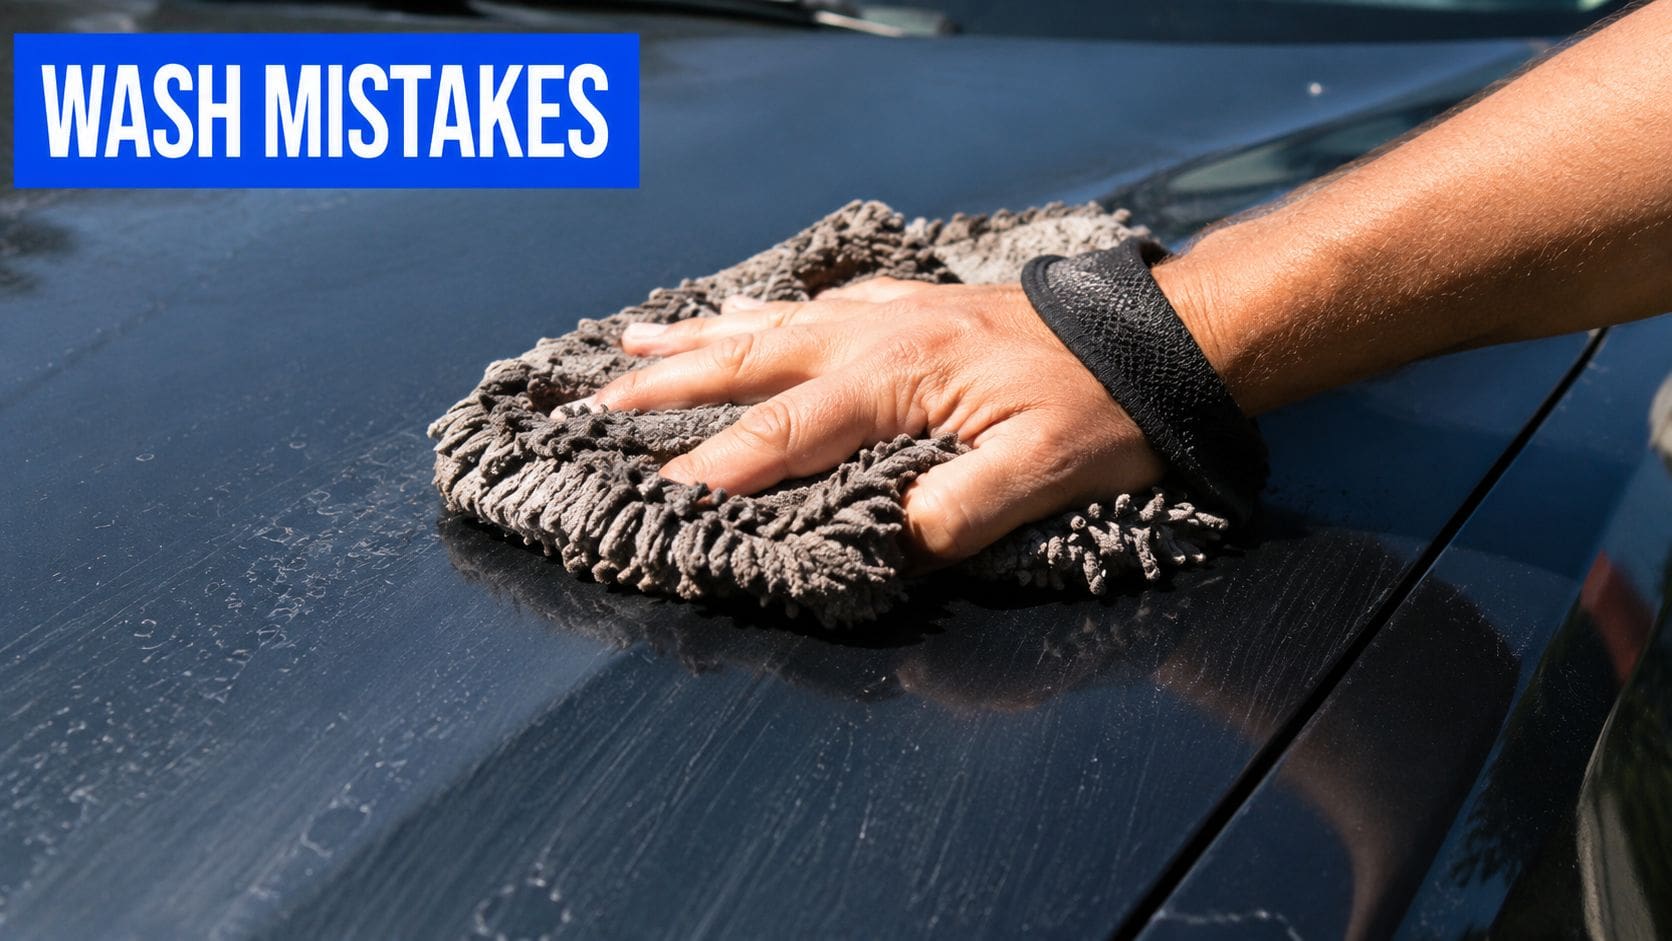
The biggest myth I hear is that swirls “just happen.” They don't. They're usually the result of friction + contamination, which means the wash process itself is often the problem, not the fact that the car was dirty.
A widely cited industry claim says 95% of new cars are already swirl-marked or have visible paint imperfections from delivery, which tells you how common the issue is before the owner ever washes the car (Mr. Shine Wash). That lines up with what many owners see in practice, a fresh vehicle can still arrive with visible marring from dealership handling, transport, or prep.
The common mistakes that create the damage
The contact points are where the paint gets hurt. Dirty mitts, contaminated towels, harsh brushes, and dry wiping all drag abrasive particles across the clear coat. Once grit gets trapped between the tool and the paint, the surface starts collecting tiny scratches.
A few habits are especially hard on paint:
- Single-bucket washing: Dirty water goes right back onto the panel, so the mitt keeps loading up with grit.
- Aggressive drying: Dragging a towel across the finish creates the same kind of friction as washing.
- Circular scrubbing: Repeating the same motion over and over can make the scratch pattern more visible in the light.
- Automatic friction washes: Harsh brushes can carry contamination from many cars and leave the paint looking hazy.
If you want the deeper breakdown of wash damage, the article Do Car Washes Ruin Paint? covers the practical trade-offs in more detail.
Why the last step matters so much
Drying gets blamed less than washing, but it's often where the finish gets marked. A towel with embedded grit, or one used with too much pressure, can create the same kind of light-catching trails that a dirty wash mitt leaves behind. Even quick detail wipe-downs can do it if the surface isn't clean first.
A car can look clean and still be unsafe to touch with a towel. If loose grit is still on the panel, you're not drying, you're grinding.
The fix starts before contact. Pre-rinse the car, use clean wash tools, and keep the process lubricated so dirt can lift away instead of being dragged into the paint. That's the difference between a safe wash and a swirl factory.
Inspecting Your Paint How to Judge Swirl Severity at Home
Start with the right light
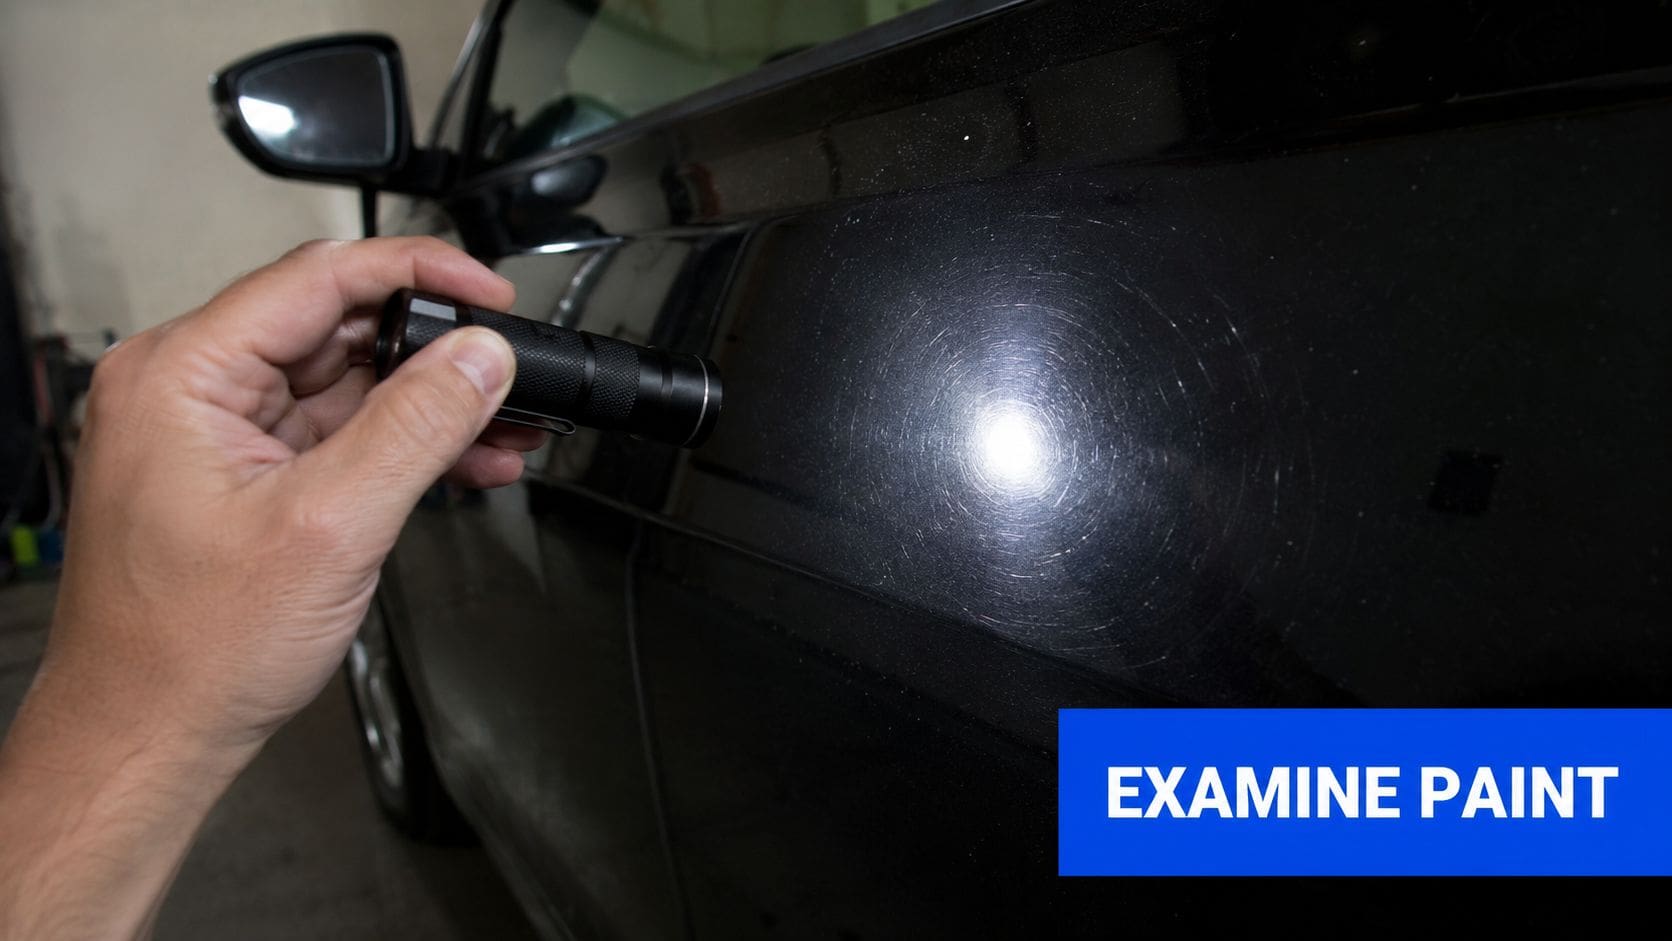
Inspection is simpler than it might seem. Wash and dry the car first, then move it into direct sunlight or use a phone flashlight at a low angle across the panel. The goal is to make the surface reflections obvious, because swirls show themselves when light hits the clear coat and bounces back unevenly.
Look at the hood, roof, and upper doors first. Those panels usually show the finish most clearly, and they're also the areas that get the most wash contact over time. If the reflection of a light source looks broken into spiderweb lines, you're seeing marring in the clear coat.
Sort the damage into three practical levels
- Light swirls: Visible only in direct sun or under a strong flashlight. The paint still looks glossy from most angles, but the finish loses some crispness.
- Moderate swirls: Easy to see in bright light and faintly visible in normal daylight. The clear coat looks hazy in several panels, especially on dark colors.
- Severe marring: Obvious from a distance, with scratches or heavy webbing that show up in most lighting. At this point, a simple hand product usually won't get the result you want.
Many owners waste time. They buy a polish before checking whether the defect is light haze, true clear-coat scratching, or something deeper. If you want a better read on whether the marks are filled or etched, the deeper diagnostic discussion in Detailed Image's guidance on swirl marks points out why inspection after proper washing and drying matters so much.
What to do with what you find
If the marks only show in strong sun, a light correction may be enough. If they're visible on most panels and the car is dark, the finish usually needs machine polishing. If the paint looks dull even after a wash and proper inspection, the safer route is to let a professional assess the clear coat before any compound touches it.
Practical rule: Never judge swirls on a dusty or dirty car. False haze and real clear-coat marring can look similar until the surface is fully clean.
Fixing Swirls DIY Polishing vs Professional Paint Correction
The right fix depends on how deep the marks are and how much clear coat you're willing to remove. A good result isn't just about making the scratches disappear, it's about choosing the least aggressive method that still restores clarity.
What a beginner can realistically do
For very light swirls, a hand-applied polish or a beginner-friendly dual-action, or DA, polisher can improve the finish. Reputable detailing guidance recommends a DA polisher because it gives more consistent results and carries less risk than a rotary buffer, while lighter defects often respond to a light polish and deeper patterns may need a medium polish or compound (RACV).
DIY works best when:
- The swirls are light: You can see them mainly in sunlight.
- The paint is in decent shape: No heavy haze, no deep isolated scratches.
- You're patient: Correcting a car by hand takes time and careful inspection.
- You accept a partial result: DIY can improve clarity, but it may not create a showroom-level finish.
If you want a process-oriented walkthrough, how to remove car swirl marks is a useful reference point for the difference between light correction and full restoration.
What professional correction changes
Professional paint correction uses a controlled multi-stage approach. That usually means decontamination first, then compounding or polishing, then a refining pass, then protection. The point is to level the clear coat carefully instead of just hiding the scratches with product residue.
| Factor | DIY Approach (Hand or DA Polisher) | Professional Multi-Stage Correction |
|---|---|---|
| Paint condition | Best for light marring and maintenance | Better for moderate to severe swirls |
| Time | Usually longer for a first-time owner | Faster, because the process is systematic |
| Risk | Higher if the pad, product, or technique is wrong | Lower, because the process is controlled |
| Finish quality | Good improvement, not always uniform | More consistent clarity and gloss |
| Protection afterward | Up to the owner to apply | Usually paired with a protection step |
The trade-off most owners miss
DIY correction can be “good enough” when the car is a daily driver and the goal is to improve appearance without chasing perfection. Professional work makes more sense when the vehicle is dark, newer, leased, or something you want to preserve long term. That's especially true when the paint already has multiple layers of wash-induced marring, because a single pass often won't clean up the surface evenly.
The decision is not “Can I polish it?” It's “How much clarity do I want back, and how much risk am I willing to take with the clear coat?” That answer usually points the owner to either a careful DIY polish or a full correction from a shop that does this every week.
The Best Ways to Prevent Car Paint Swirls for Good
Build a safer wash process first
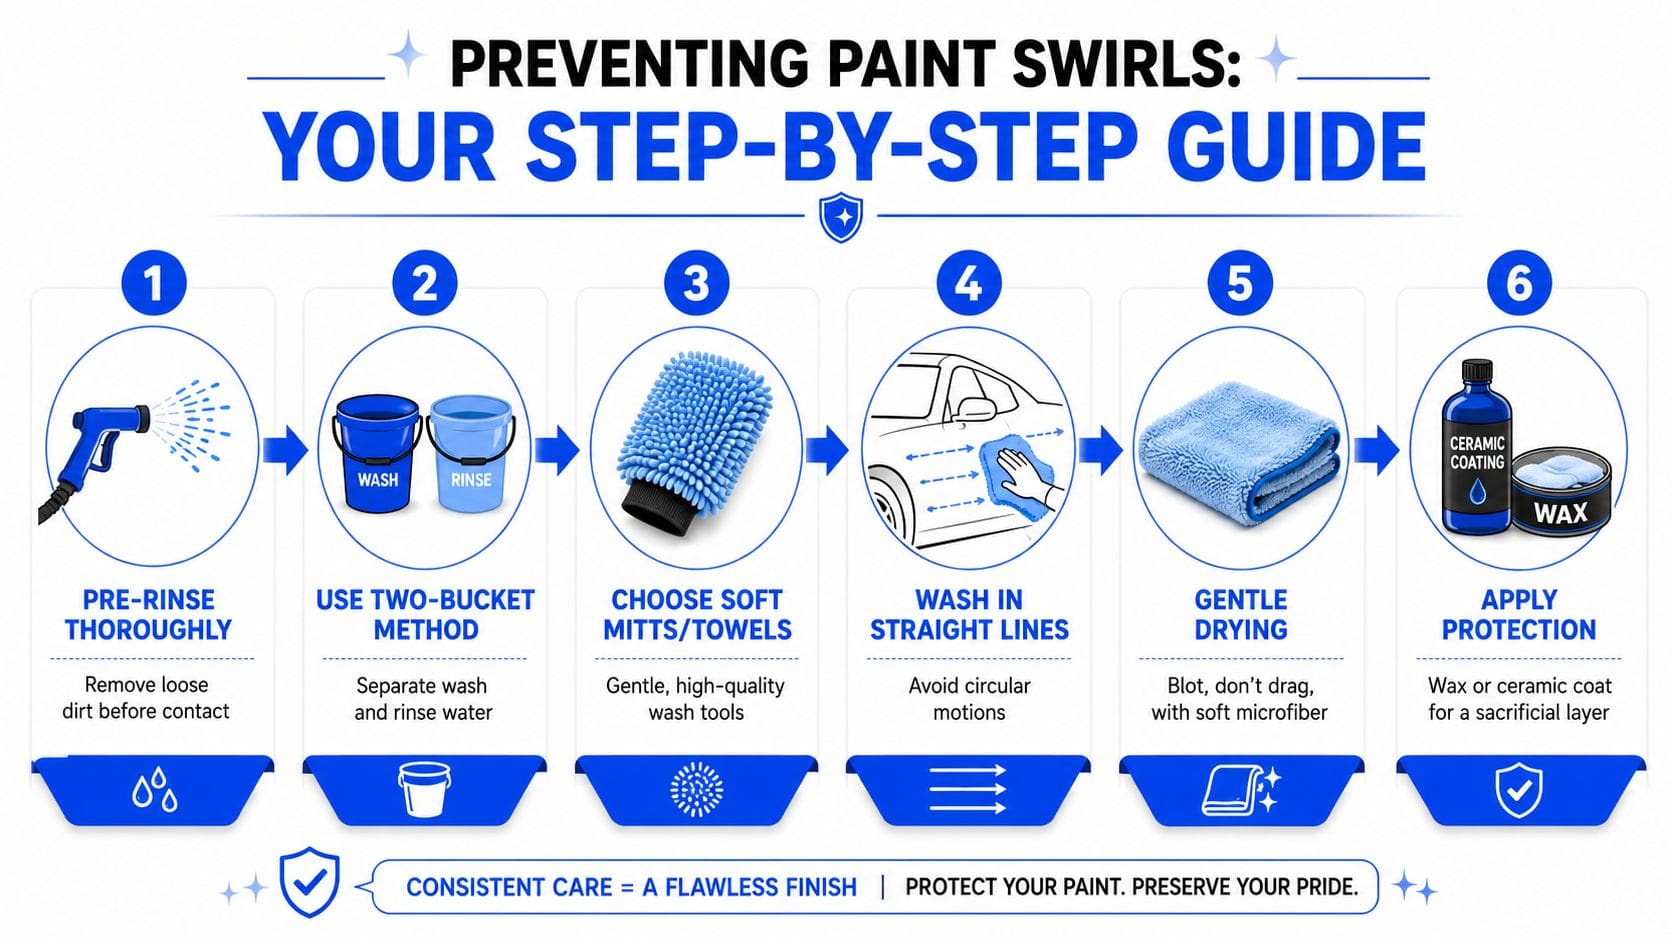
The two-bucket wash method is one of the simplest ways to reduce new marring. One bucket holds soapy wash water, the other is for rinsing the mitt, which keeps grit from getting dragged right back onto the paint. Detailing guides also specify a grit guard because it helps trap debris below the rinse zone, so the mitt doesn't pick it back up (Golden Bay Detailing).
A safe weekly wash usually looks like this:
- Pre-rinse thoroughly. Knock off loose dirt before touching the paint.
- Use two buckets. Keep wash water and rinse water separate.
- Choose soft mitts and towels. Microfiber is safer than cheap sponges or rough rags.
- Wash in straight lines. Avoid tight circles that keep abrasion concentrated.
- Dry gently. Blot or glide with a clean microfiber drying towel, not an old bath towel.
- Protect the finish. Wax, sealant, or coating adds a sacrificial layer.
Proper drying matters just as much as washing. A clean microfiber drying towel or blower reduces the chance that a final pass across the panel creates fresh marks. For contaminated spots like bird droppings or tree sap, soften the area first instead of rubbing a dry residue into the clear coat.
Where coatings and film fit in
A Hilliard ceramic coating adds slickness and chemical resistance, which can make routine washing easier and reduce the friction that leads to marring when the car is maintained correctly. A Columbus PPF install, or Hilliard paint protection film, adds a physical barrier that's designed to take abuse before the paint does. If you're comparing both, the difference between surface slickness and impact resistance is laid out in PPF vs. ceramic coating.
That said, neither product replaces good wash technique. Even protected vehicles can pick up swirls from contaminated towels, poor drying habits, or dirty car covers. The coating or film helps, but the process still matters.
One practical option for owners who want professional protection is Lionheart Detailing's ceramic coating service, which is applied after the paint is properly corrected and prepared. That order matters, because protection locks in the condition that's already on the vehicle.
Practical rule: Protection slows swirl formation. It doesn't excuse bad washing.
The simplest long-term habit
If you only change one thing, change the contact step. Clean tools, more lubrication, and less pressure do more for paint preservation than any gimmick product. That's how you keep a corrected finish looking fresh between details.
Get a Flawless Finish with Professional Detailing in Hilliard
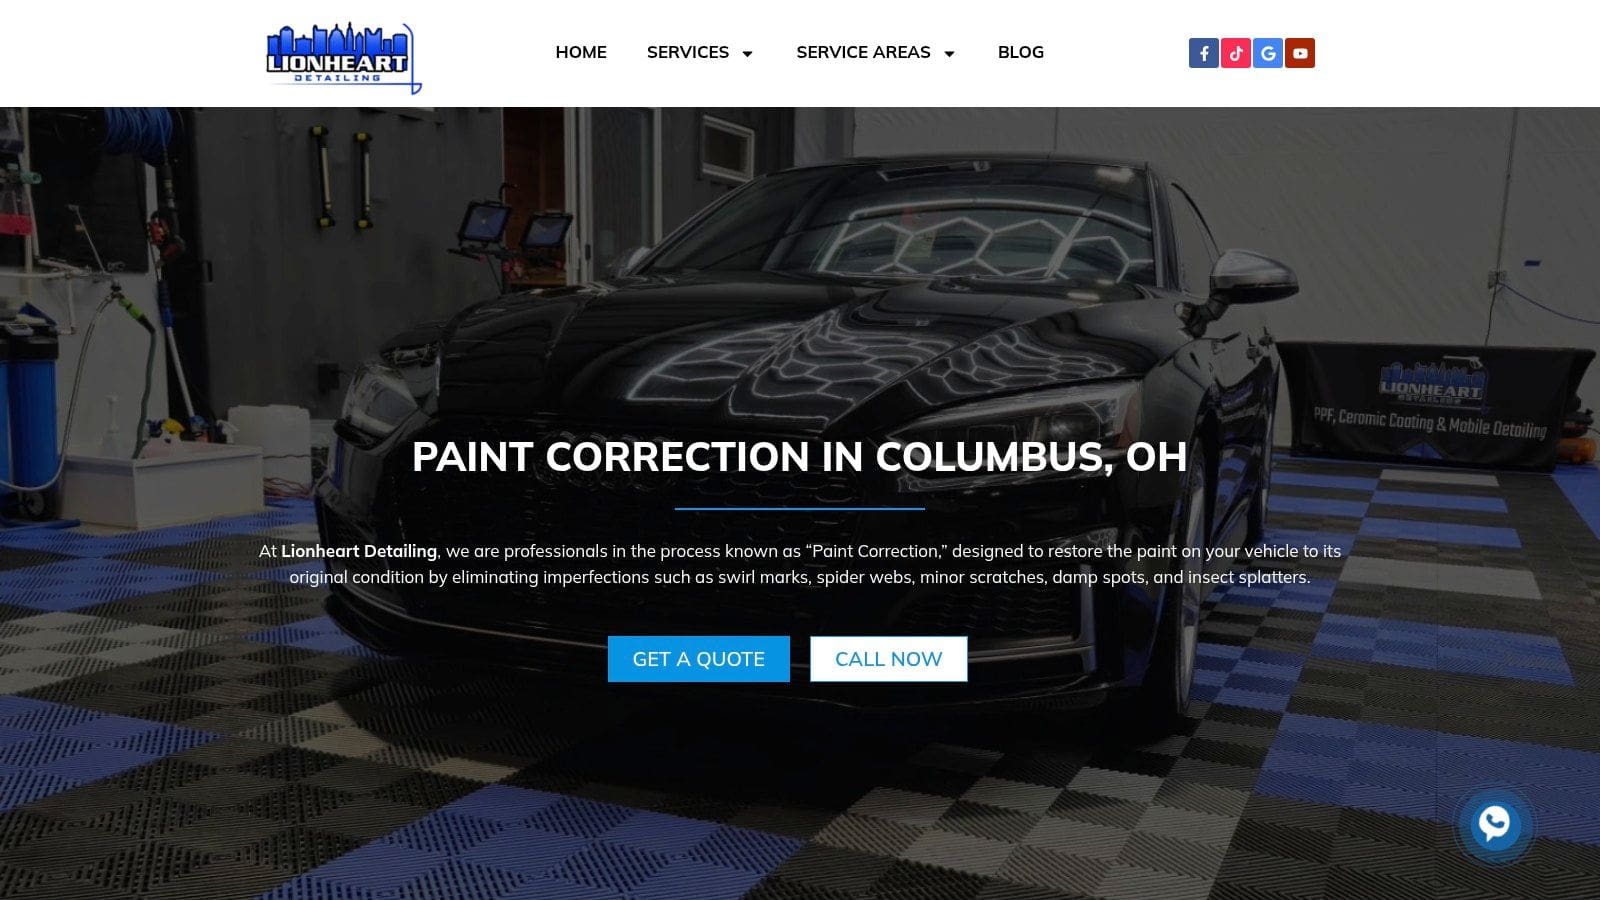
A proper paint correction service starts with a full wash and decontamination, because dirty or bonded contamination should never be polished into the finish. After that comes a careful assessment of the paint, followed by the right level of machine polishing for the vehicle's condition, then protection to help slow the next round of wear.
That workflow is what separates a quick cosmetic touch-up from a real restoration. The surface gets cleaned, corrected, refined, and protected in a deliberate order, which is the only way to restore gloss without chasing the same swirls again next month. For owners comparing Columbus ceramic coating, Hilliard auto detailing, or ceramic coating near me searches, that methodical sequence is what you should be looking for.
At Lionheart Auto Detailing & Protection, the Hilliard shop and mobile setup serve drivers across Columbus who want a cleaner finish without guesswork. The service is straightforward, paint is inspected, correction is matched to the damage, and the final result is protected so the vehicle stays easier to maintain.
If your car's finish looks tired in sunlight, or you're not sure whether the marks call for a polish or full correction, reach out for a direct assessment. A short conversation can save you from buying the wrong products, and it can point you toward the right level of care for your paint.
A CTA for Lionheart Detailing.